

In June of this year I was given the incredible opportunity to join a group of 10 designers from Seattle and San Francisco on a trip through Italy to learn more about the tile manufacturing process. The following photos only skim the surface of what I learned over the 9 days we spent touring factories and showrooms (and I’d be lying if I said there wasn’t an unhealthy amount of food and wine consumed as well!). Our hosts Rose and Renato Baldo were the owners of Julian Tile which is based in Vancouver and has a showroom in Seattle (Statements Tile). They were the perfect hosts touring us around tiny towns in the Venetian countryside, driving us around in 12 person vans, and sharing their love of Italian culture with the whole group.
At Atlas-Concorde, one of the biggest trends in the tile world currently (at least in the European markets) is extra-large format tiles. They are super thin at anywhere from 2 to 6 mm and come in a staggering array of finishes, patterns, and styles. The huge slab-sized tiles can be used on the floor, walls, and ceilings with grout joints that are so small it’s hard to find them unless you’re truly looking for them.
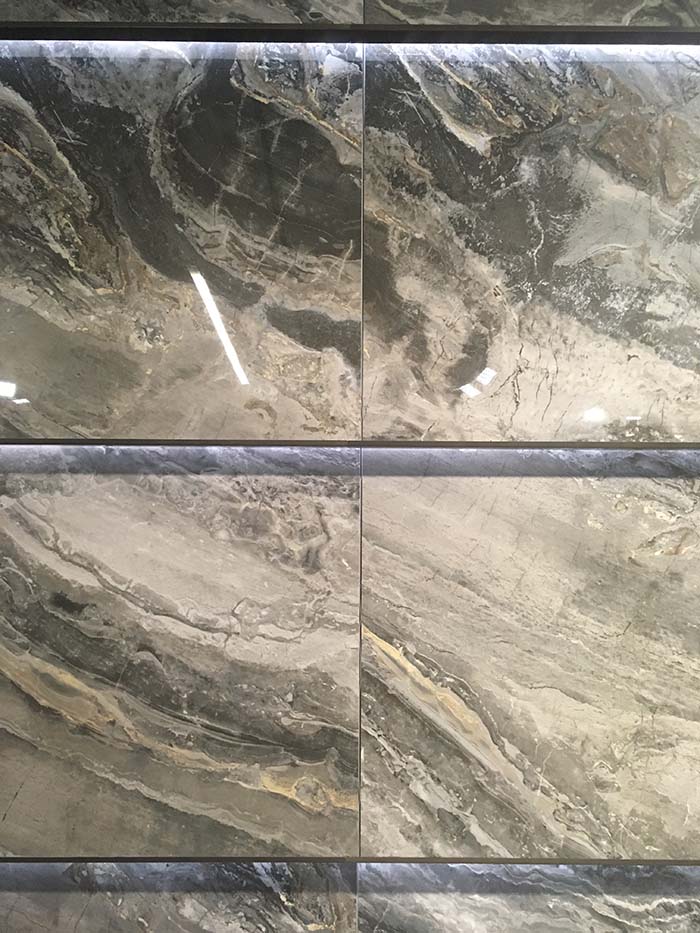
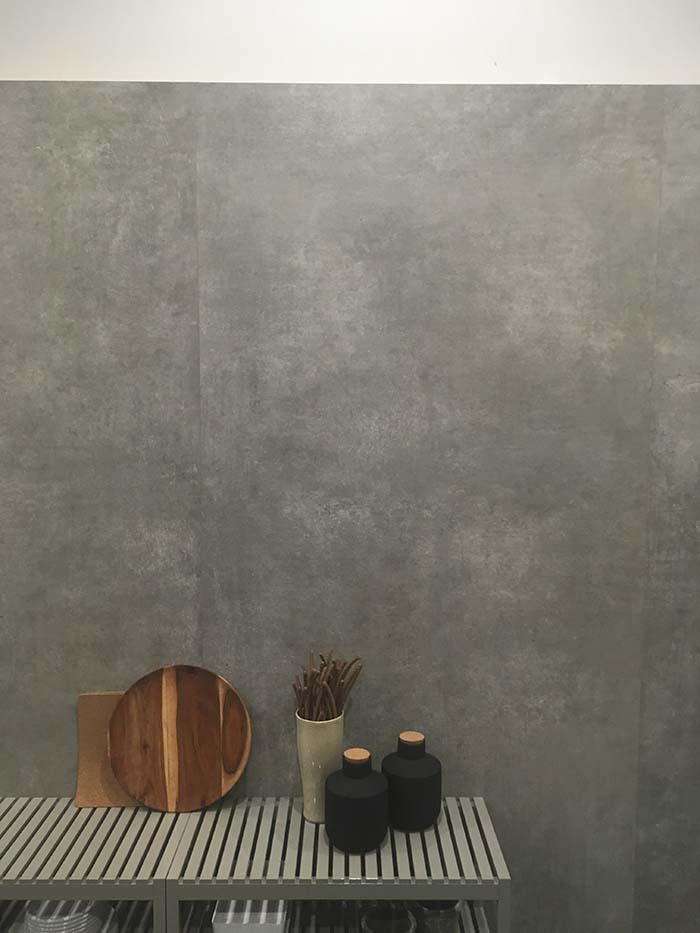
The veining in the large format tiles is incredibly realistic. The faces of hundreds of actual stone slabs have been scanned and turned into templates for the manufacturing process. Rather than screen printing an image onto the face of a ceramic tile, this particular factory drops powdered ceramic glaze onto the unfired tile so its patterning is integral to the material. The sheer variety of faces ensures that the effect is as close to “real” as possible. In this particular photo they’ve been used in a highly polished finish to create a shingled accent wall with integral lighting.
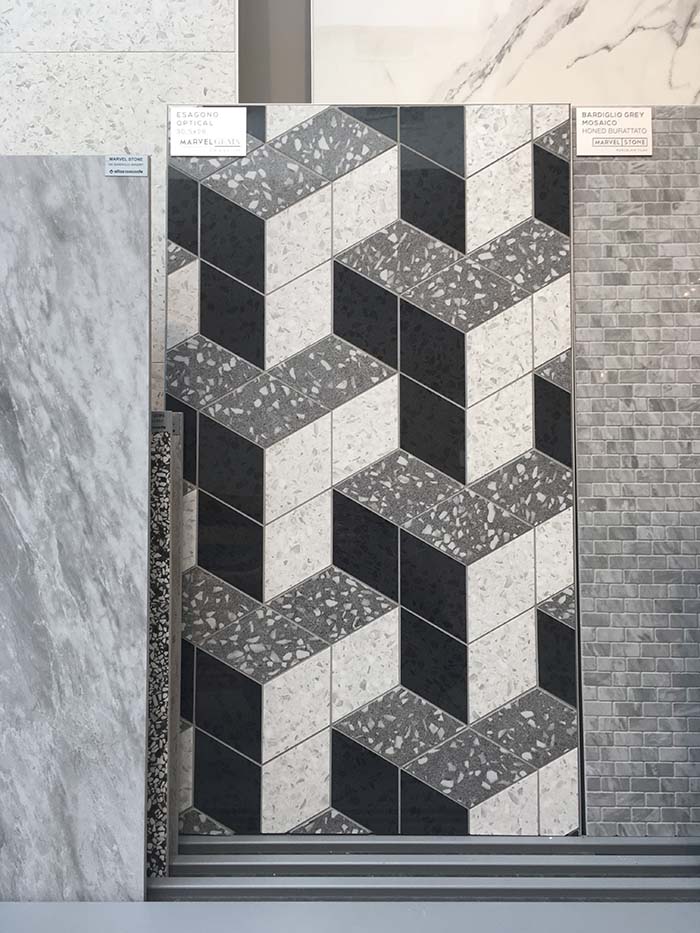
Many of the tile showrooms displayed a variety of mosaic-like tiles. Black and White seemed to be a classic favorite along with crisp, geometric and faux terrazzo patterns.
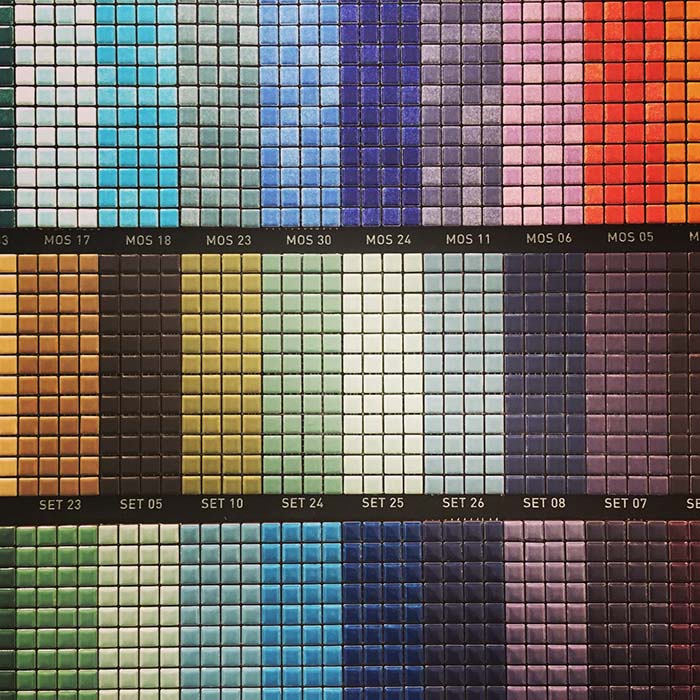
The second factory we visited was Appiani which is known for their ½” x ½” mosaic tiles which are available in a staggering array of colors. This was a very different manufacturing process than the extra-large format tile factories that are completely automated and robotic (and that, unfortunately, we were not allowed to photograph). In fact, we only saw one person on the Atlas-Concorde factory floor during that tour and he was riding a bike because he has so much ground to cover!
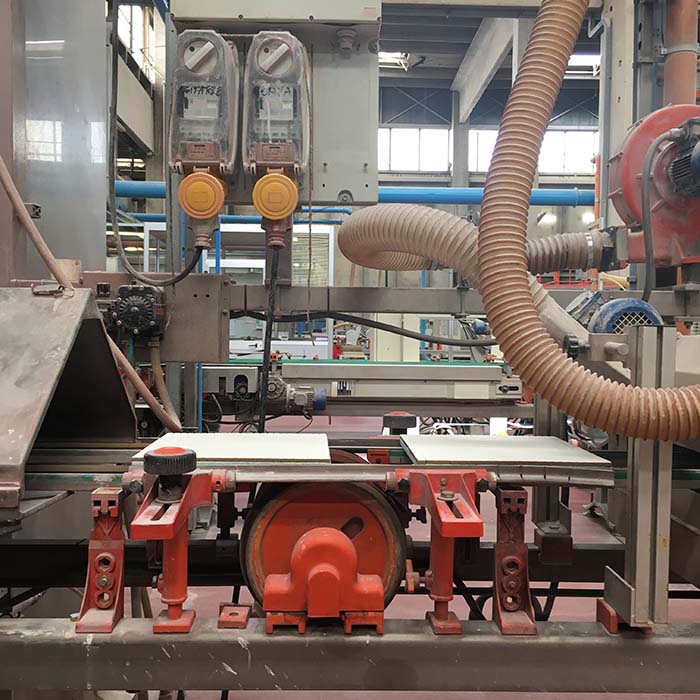
The first step to creating a sheet of mosaic tiles is to press the ceramic powder into the correct tile shape. The white 1’x1’ squares you see on the belt in the photo are rows of individual tiles ready to be glazed.
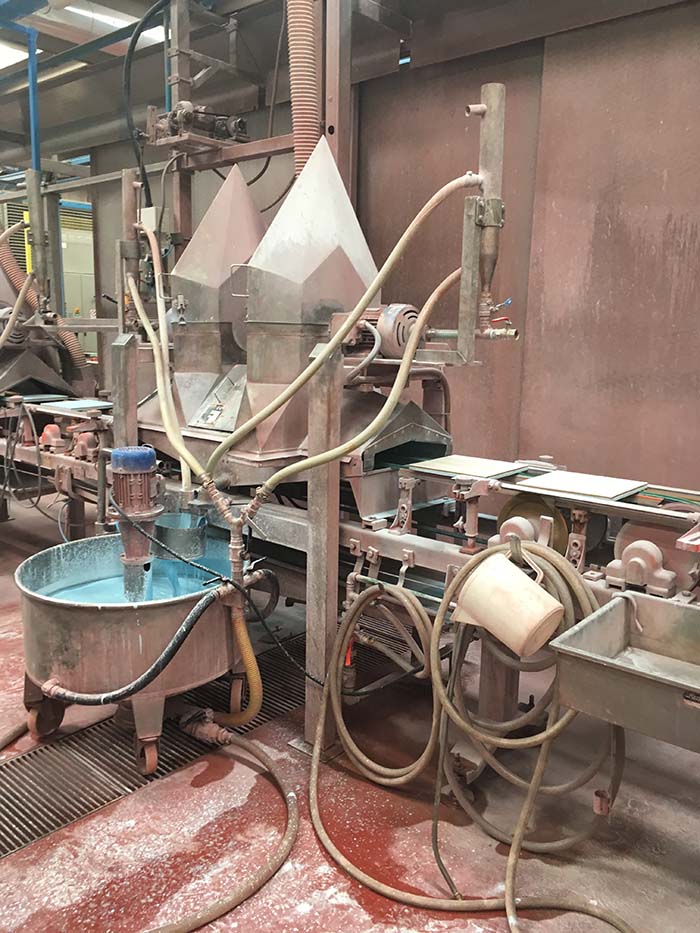
Once the tile is stamped into its correct mosaic size, it travels along the belt where it receives a glaze (in this case blue). The glaze is delivered through a series of spay nozzles that ensure proper coverage.
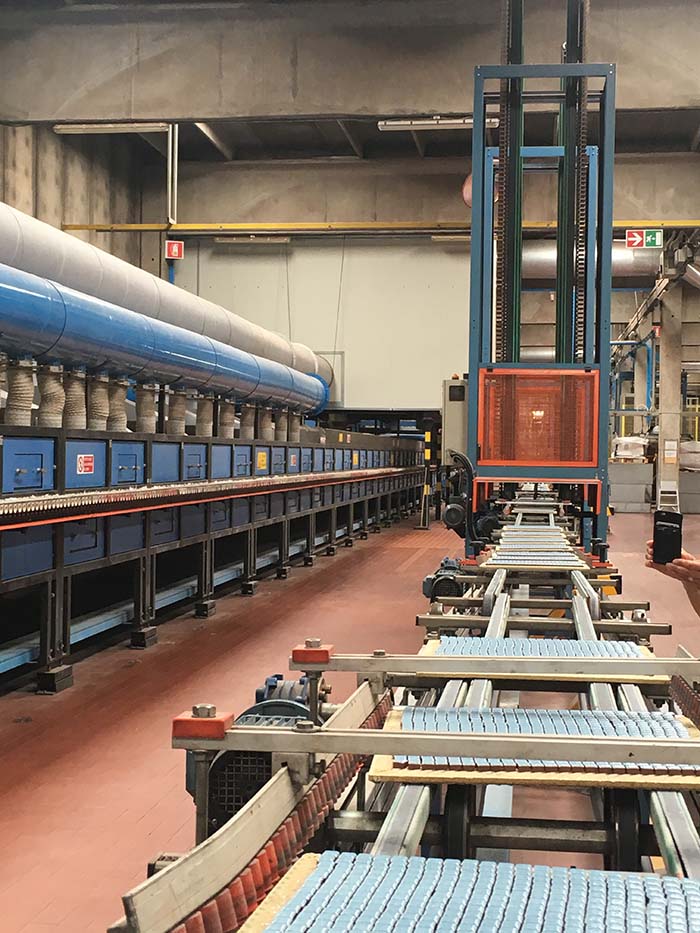
The glazed tiles then move into a drying oven and on to the kiln where they are fired.
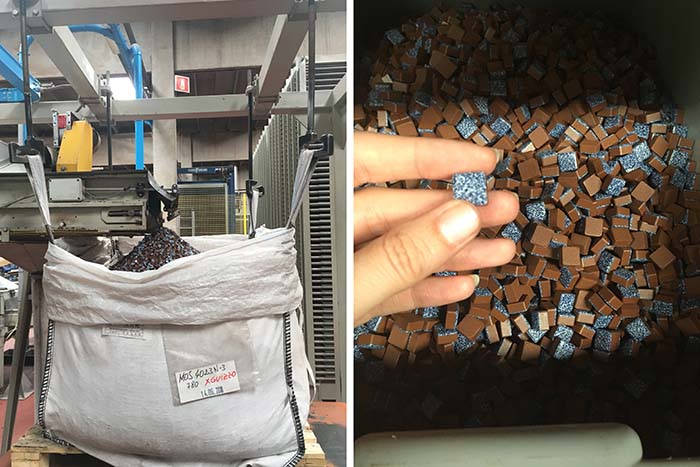
Once fired, they are all poured into massive bags which are stocked on shelves by color until they are ready to be put onto the fiberglass backers or arranged into a patterned mosaic tile sheet. Piled up, they remind me of tiny chocolates!
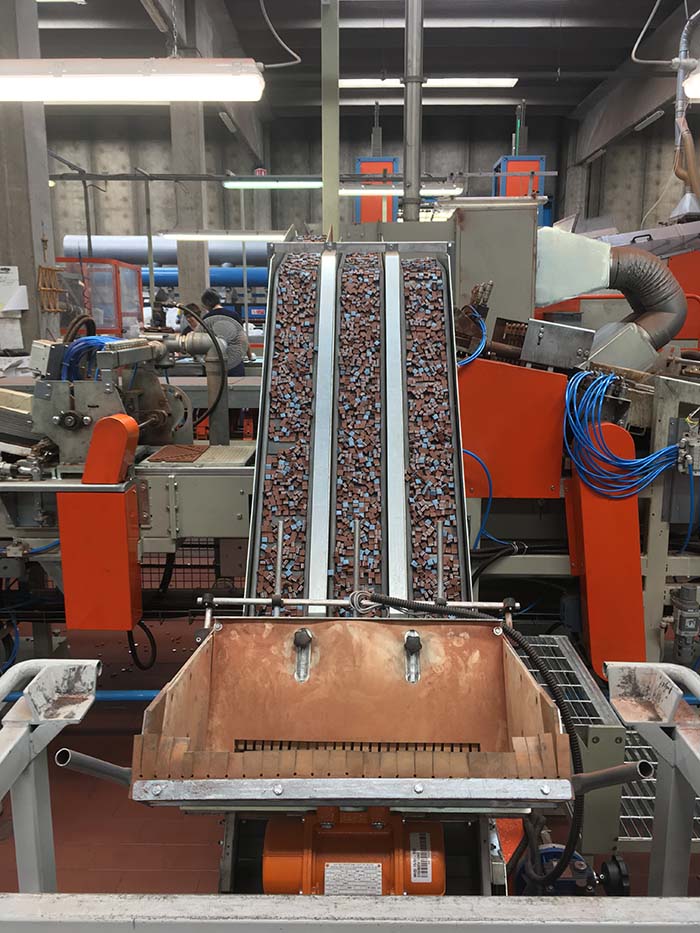
When they are ready to be arranged into mosaic tile sheets, the fired tiles are loaded into hopper chutes which deliver the tiles onto the bed in whatever design is being created per the computer’s direction. This process works similarly to a player piano track where a cylinder specific to the tile’s pattern rotates and allows a tile to drop in place only when there is an opening. I was surprised to see how inaccurate this process was. The tiles come out with individual tiles that are upside down, not all the way in place, or the wrong color occasionally.
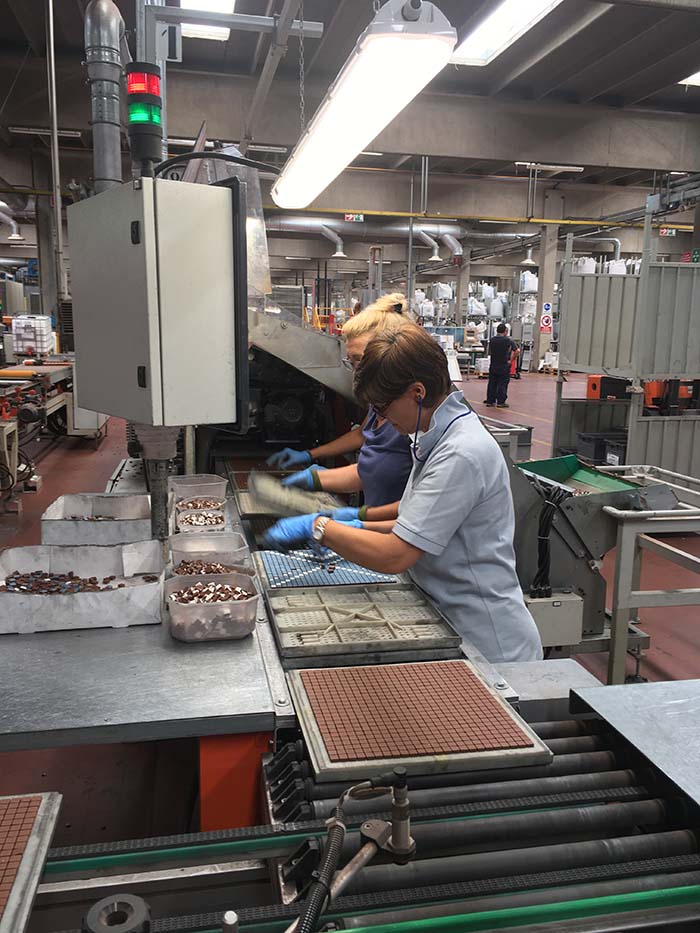
At the end of this hopper chute are three women who manually replace and reset tiles as required. The gentleman giving us the tour said that women have traditionally been chosen for this part of the QAQC process because there is something physiologically different about how the cones and rods in their eyes are better able to perceive pattern and color. Whether or not that is completely accurate, it was still awesome to see how quickly they were able to get the tiles correctly organized.
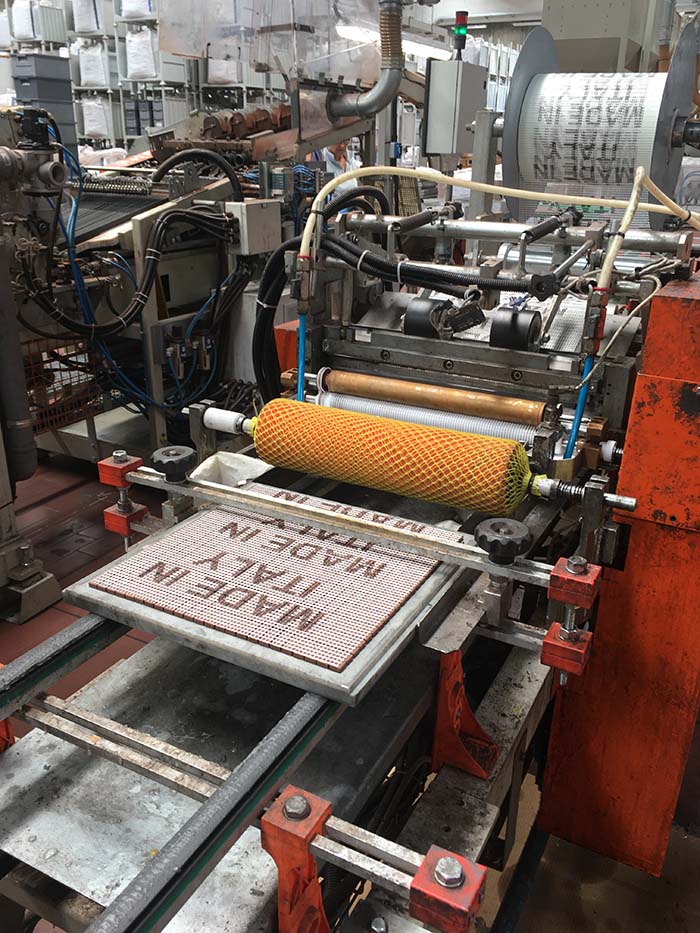
The last step in the life of a mosaic tile sheet is receiving the fiberglass backing and “Made in Italy” stamp. The big orange roller in the photo saturates the fiberglass mat which is then laid upon the finished tile.
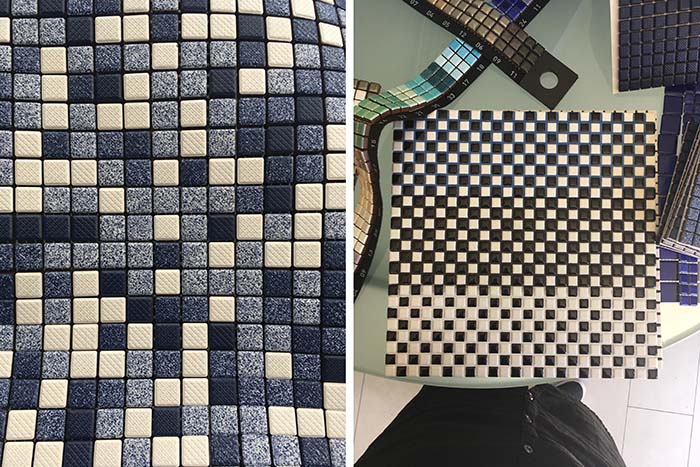
Ta-Da!! A close up of a finished tile sheet. This one went through the glaze process twice to get the speckled appearance. The Appiani showroom also had an awesome display of how grout can change the perception of tile. The photo here shows the same black and white checkerboard of tile with different grouts. It seems that there are a much wider range of colorful grouts available in the European market than here for sure…

Our group and hosts outside the Abazzia wine cellar. By the end of the trip we were so sad to be returning to different cities! We left not only truly inspired but with many new friends and plans for a limoncello and pasta-making reunion in the future.
Katie Hunt